Photomontage is the art of creating a new image by combining two or more photographs. It has been practiced throughout the history of photography. Contemporary artist Jerry N. Uuelsman actually employs several enlargers in a traditional wet darkroom to create his surreal images. Others have sandwiched negatives together during printing.
With the emergence of digital cameras and editing software such as Adobe Photoshop, the practice is used in a variety of venues including graphic design, illustration and fine art. John Paul Caponigro and Erik Jonannson are well known photographic artists who combine images in the digital realm. There are many others as well.
The practice requires employing images that work well together. They usually need to be compatible in terms of contrast, color, direction and quality of lighting, etc. There are a variety of techniques that are useful for combining images. These include selection, layer masks, layer blending modes and opacity settings. I suppose the eraser tool could also be included in this list but I prefer to avoid using methods that are non-recoverable.
Sometimes its simply a matter of adding visually interest to an image such as clouds or other background elements. Other times the purpose is to create a result totally different from any of the parts it was made from.
In the example below, titled Apparition I, two images are combined using a layer mask with a gradient to help control the transition from one image to the other.
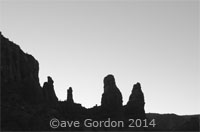
Bottom layer
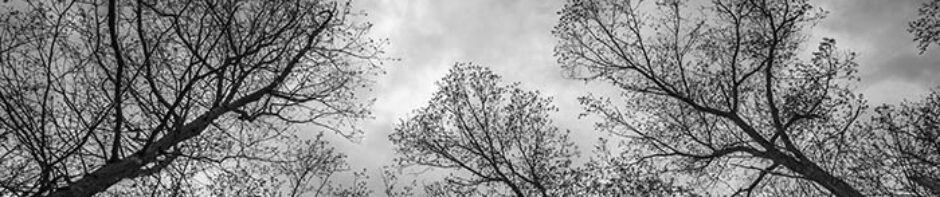
Clouds layer
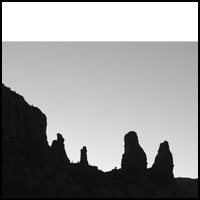
Canvas size changed to square format.
The first image of the rock formations served as the bottom layer. The canvas size of the image was changed to a square format by making the height equal to the width.

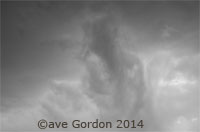
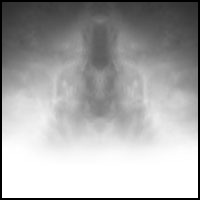
“Fog” layer
To help provide some transition, a solid white layer was placed above the first layer. A layer mask with gradient was applied. Some additional painting on the layer mask helped to control where the light “fog” layer affected the layer below.
Merged clouds layer with gradient mask.
The clouds layer was duplicated and flipped horizontally. The blending mode of the top cloud layer was changed to brighten and the cloud layers were then merged and placed above the fog layer. A layer mask with a black-to-white gradient was placed on the clouds layer to help blend it into the picture.
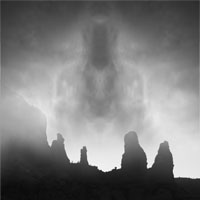
After cloud layer is added.
After the flipped/merged cloud layer is added, we are almost done. I prefer to darken the corners and draw attention towards the center of the image.
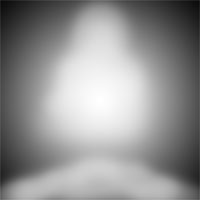
Radial Gradient Layer.
A radial gradient adjustment layer is added next. A layer mask is used on this gradient layer to limit the effect on the center and bottom portions and mostly darken the top and side corners and edges.
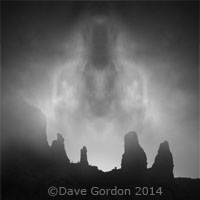
After radial gradient layer added.
This is the final image after the gradient layer has been added. Using the gradient on a separate layer allows for the use of different blending modes and opacities.
Click HERE to see some additional examples of photomontage.